


26-01-2021
Stirling Engines. The future for electricity generation. (Powered by a packet of frozen peas). (4 images)
Click the first image to step through.
I was looking for a small workshop project to keep me amused during lockdown, and started investigating Stirling hot-air engines. I had seen them, but never really understood how they worked. Here's an explanation.
Step 1 was to buy this Chinese toy and fire it up with its little spirit lamp.
It's quite crudely made, but runs really well and was a useful demonstration of the principles. It was amazing value for £13

|
|
| Step 2 was to try and make one of my own. | The printed parts. |
There are lots of designs on the web for simple engines made of old beer cans and bent bits of wire. One of the nicer ones was on a website by Myfordboy, designed to run off the heat from a cup of coffee.
He supplies the design for making some of the pieces on the 3D printer, so that gave me a chance to try something else new. Other parts are the lids of sweet tins, the pointy end of a propelling pencil, a piece of a latex glove, some needles, and a piece of expanded polystyrene packaging.
I put it all together, but had no success at all in getting it to run. Not even a twitch of willingness. There didn't seem to be any leaks, but I didn't really want to spend much time trying to find what was wrong, so I abandoned that one and moved on.
Step 3 was to find something that looked like a real piece of engineering.
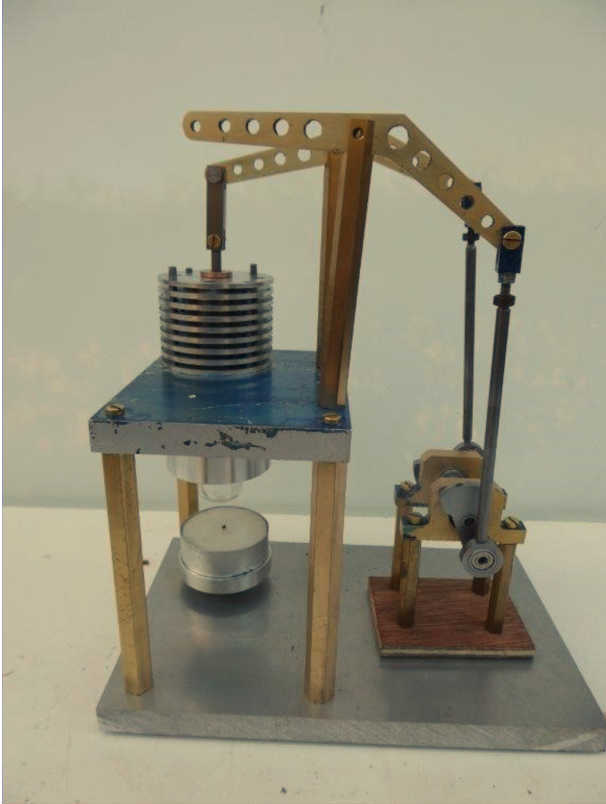
I came across a website run by Jan Ridders in the Netherlands. He has designed and built a lot of different engines including Stirlings, and makes his designs freely available. He is a really useful contact and happy to answer questions. His website has pictures of the complete engines and videos of them in action. The design that appealed to me most was this one called "Wiggers", powered by a tea light.
It has lots of moving parts that will be fascinating to watch, and it doesn't look any more complicated than some of the steam engines I have made. I had to source a few of the materials,
- The glass cylinder and displacer
- The 5mm aluminium base plate and upper plate
- Aluminium bar to make the cylinder
- Ball races for the flywheel bearings and cranks
- A casting for the flywheel itself
the rest can be made from bits of steel and brass I already have lying around.
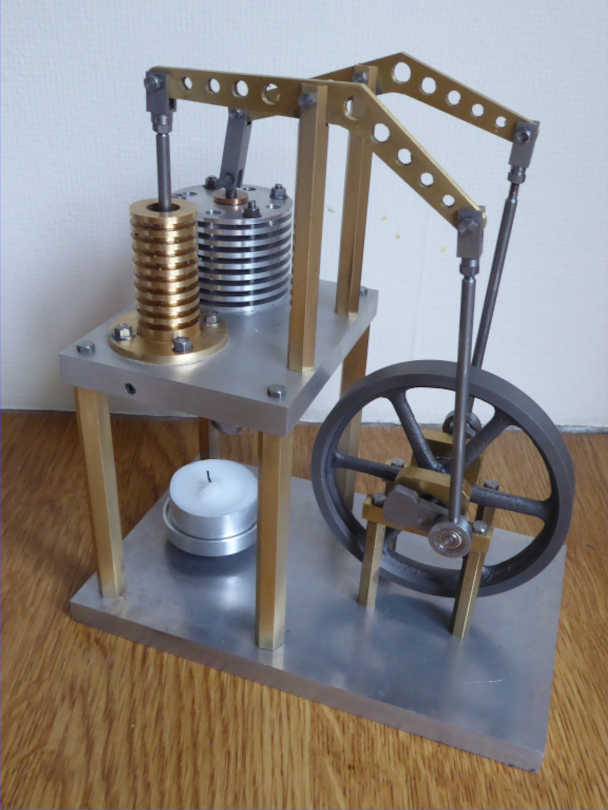
This picture, Jan 2021, shows the baseplate and main columns, the cold cylinder with its fins, the two flywheel bearings, and the mounting disc for the tea light. In the foreground are the hot cylinder, the displacer, the drive rods which will connect the beams to the crankwebs, and the crankwebs themselves, which are unfinished.
- The base plates were cut to size for me by Metal Supermarket in Southampton.
- The cold cylinder, with its aluminium fins, is coming on quite nicely.
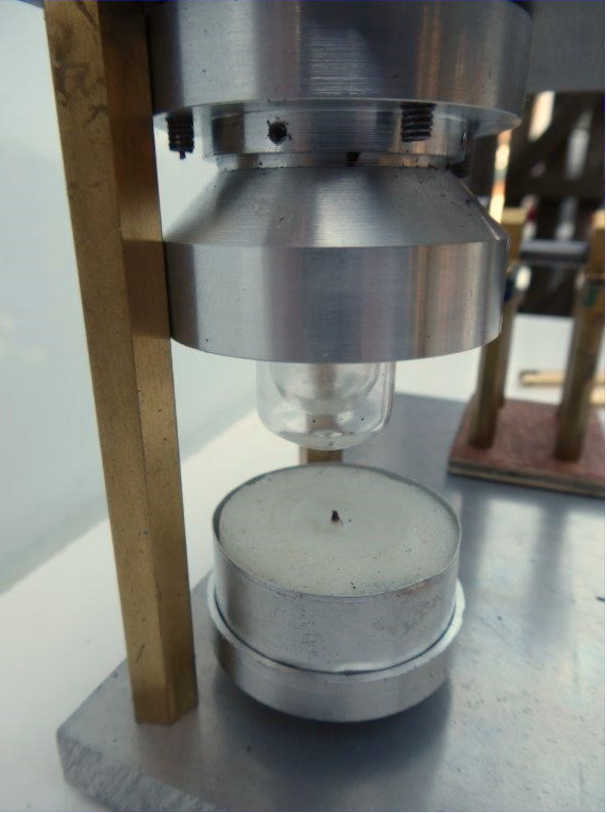
- The hot cylinder and displacer are test-tubes, cut down to size.
- The bearing housings, with their ball races for the crankshaft, are done, as are the drive rods which connect the beams to the crankwebs. The crankshaft and crankwebs are still unfinished.
I have simplified some of the cosmetic features of the design, so my finished product won't be quite as pretty as Jan's original. Instead of those beautiful steel columns, I have used some hex brass I happened to have.
I have also had to deviate from some of the metric measurements of the design – my lathe is calibrated in imperial and my taps and dies are all BA sizes!
The project continues.....Updates will be posted from time to time.
Author: Richard Bunce